Synchronizing Thunderbird Calendar with Apple iCloud Calendar
Posted on In Software, TutorialThunderbird is a nice email client and calendar management software. iCloud calendar is the native calendar cloud service in Apple devices such as iPhone. So far there is no native support from Thunderbird to support iCloud calendar, excepting reading the read-only public iCloud calendars which has privacy concerns as long as lacks of editing functionalities. But that does not mean we can not use Thunderbird to synchronize iCloud calendars. In this post we will discuss how to synchronize Thunderber calendars with iCloud calendars with the help of add-ons.
Table of Contents
Install the TbSync add-on and the provider add-on for “CalDAV and CardDAV”
The TbSync add-on is a powerful add-on that can synchronize calendars from various sources such as Exchange through the ActiveSync protocol and iCloud through the “CalDAV and CardDAV” protocol. We need to first install this add-on to Thunderbird.
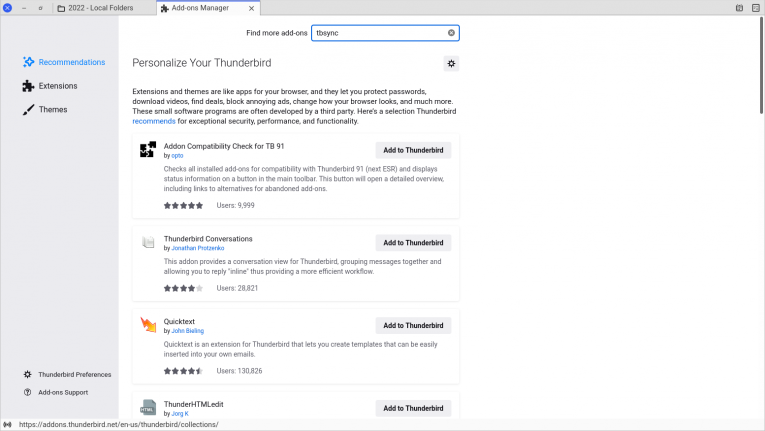
In Thunderbird “Add-ons and themes” tool which can be opened through the menu, search for the TbSync add-on.
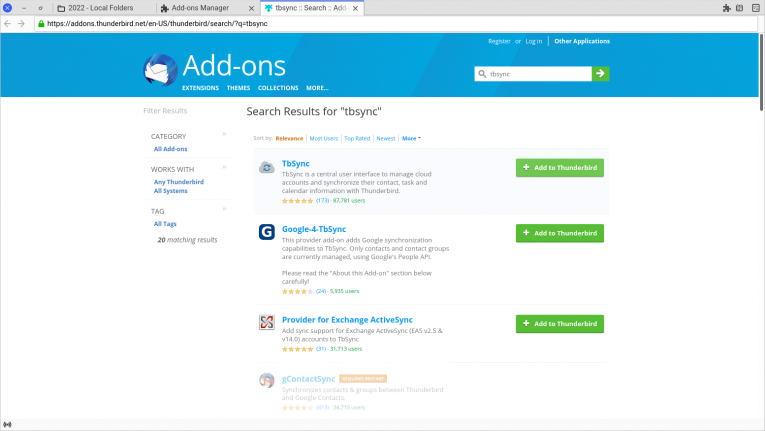
And install the TbSync add-on.
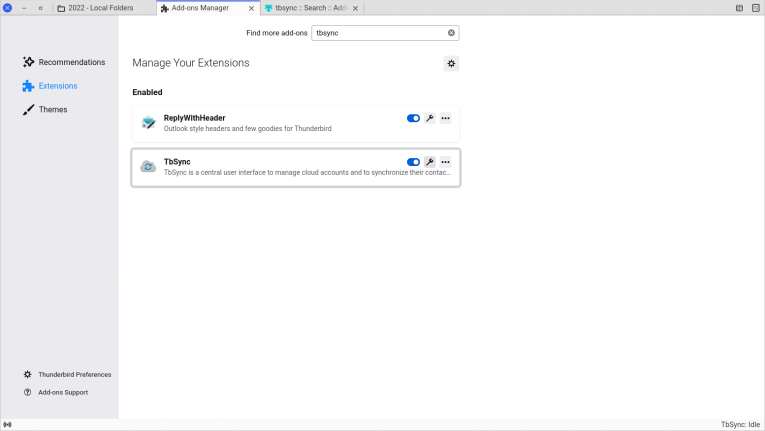
Then click the gear button for the TbSync add-on to configure it.
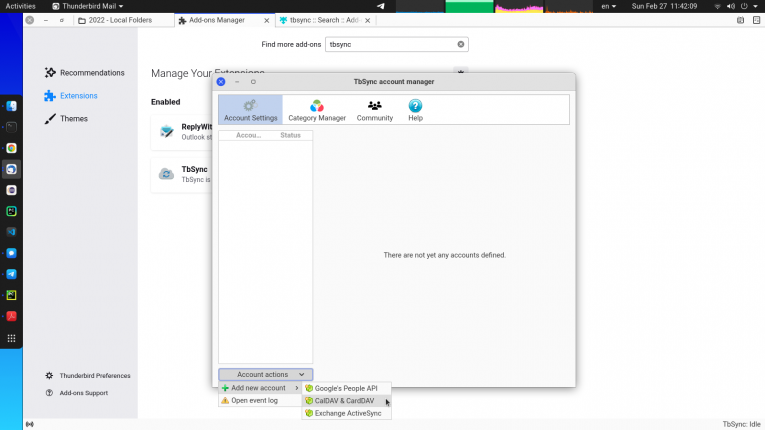
In the “Acction actions” menu, click the “CalDAV and CardDAV” menu entry to try to add a CalDAV and CardDAV account.
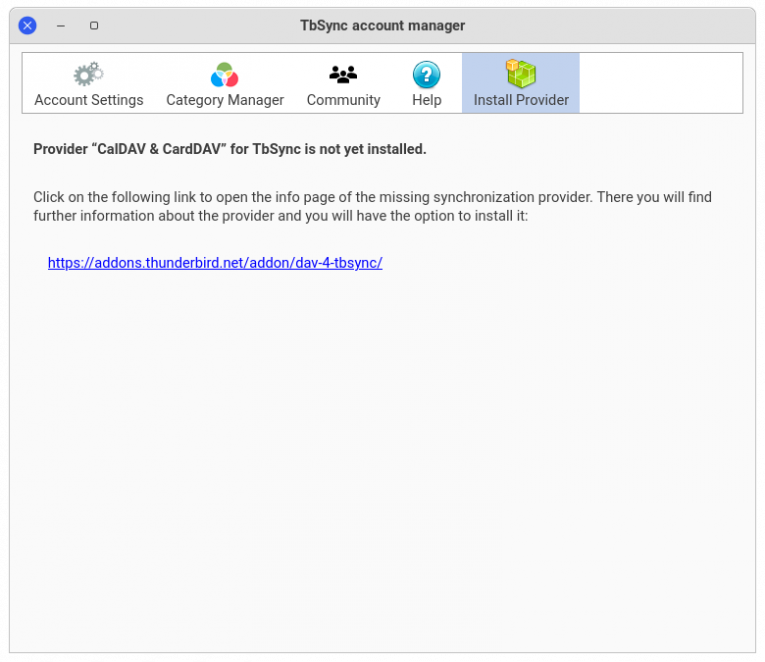
Now it will tell us to install the “CalDAV and CardDAV” provider add-on. Click the link and install the add-on as it suggests.
Now we have all add-ons ready.
Add “CalDAV and CardDAV” account
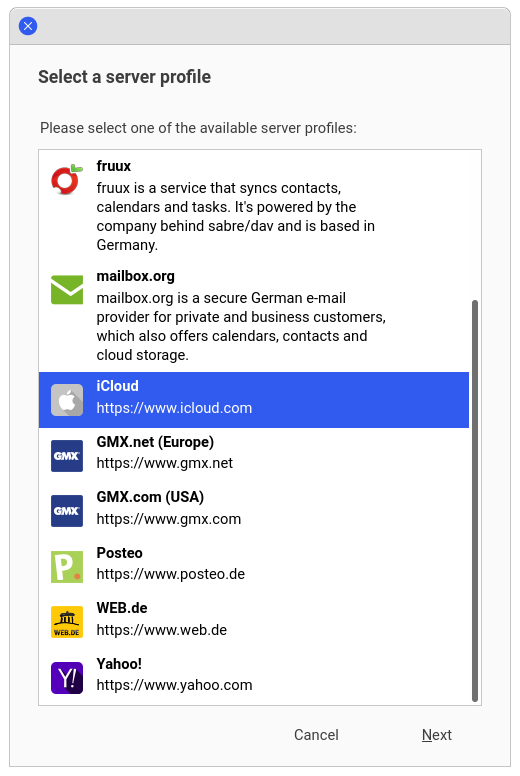
We can do the above steps again to add “CalDVA and CardDAV” account now. As the “CalDVA and CardDAV” Provider is available, the dialog will appear to select the Sever Profile. We select the “iCloud” here.
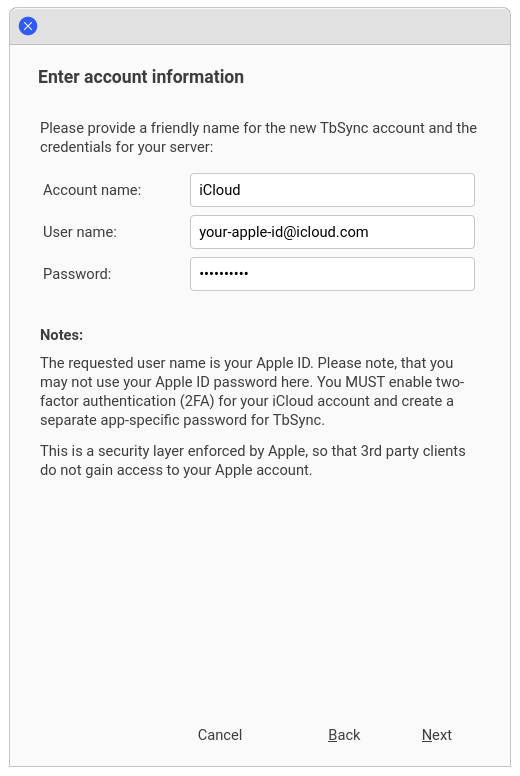
Next step will be inputting the iCloud credentials. Note that here the password is NOT the iCloud password, as the Notes part suggests. We should use a app-specific password.
Create iCloud app-specific password for Thunderbird and log in from TbSync
Visit iCloud https://appleid.apple.com/account/manage from our browser to create an app-specific password using the “App-specific Password” function from iCloud management page. An app-specific password will be shown after it is created.
Put the app-specific password into the Password field in the Thunderbird TbSync account creation dialog, and then log in. It will show the connection info for us to confirm.
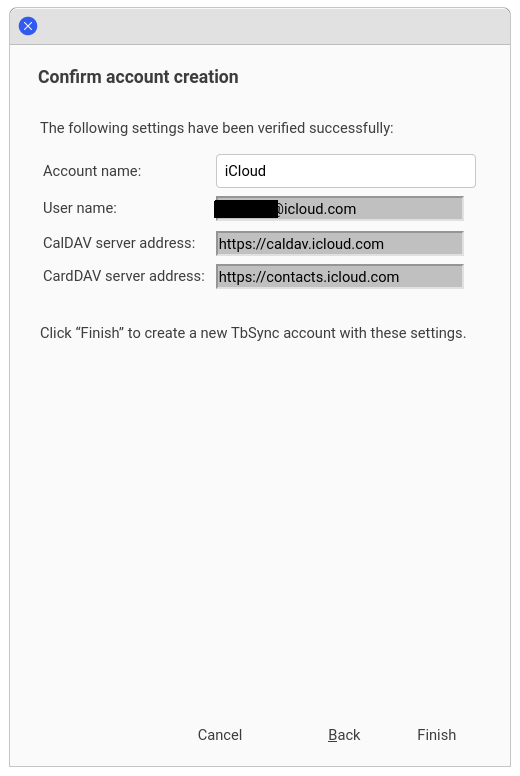
Now we have the new account for iCloud created in TbSync.
Configure the TbSync to sync calendar from iCloud
In the configuration tab for the iCloud account in TbSync, enable the synchronization for this account, select the synchornization interval, and select the calendars to be synchronized.
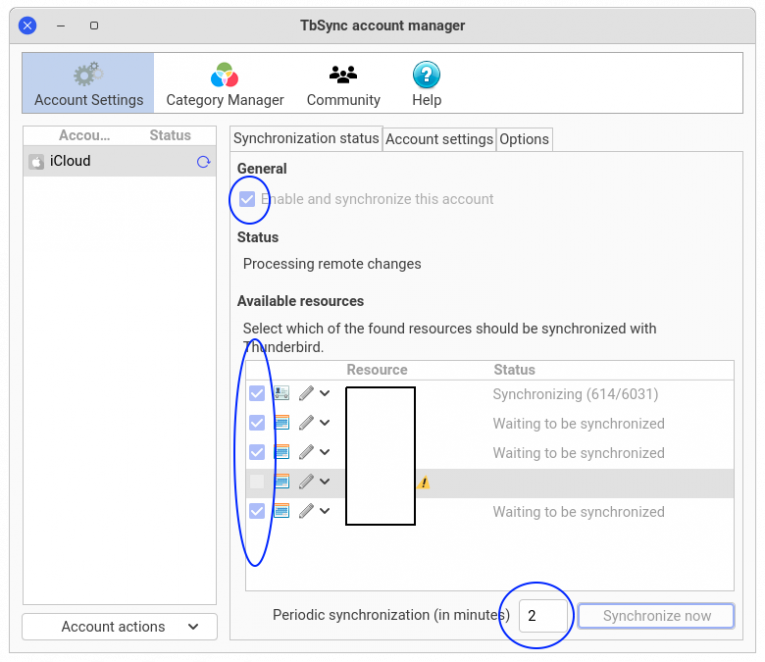
Click the “Synchronize now”. The iCloud calendars should appear in the Thunderbird Calendar and the synchronization is ready to use.

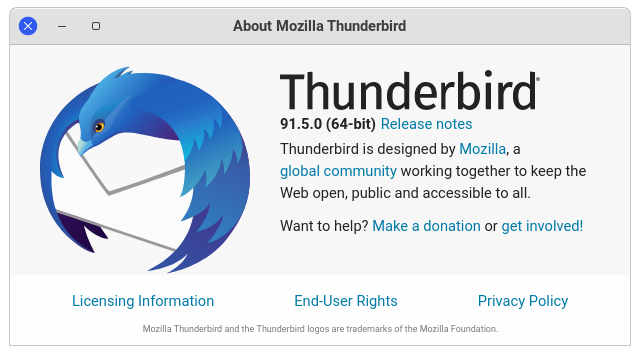
At the end, for completeness, this is the version this tutorial used to do the tests of this process.
This was very helpful and it worked! Thank you
Thank youuu!
It worked !
Thank you !!!
Oh, you mean I can finally retire my tutorial at https://frightanic.com/apple-mac/thunderbird-icloud-calendar-sync/ after 5 years. Great!
Oh yes, this was what I needed. So many thanks!
This did not add Apple Holidays or Birthdays.
What can I do to fix this?
Just a quick update: I can confirm that the Add-in is not needed any more as the support for caldav is now native to thunderbird (at least as of version 128). An application specific passowrd must still be created in icloud management but thi scan then be used directly within the calendar section of thunderbird..